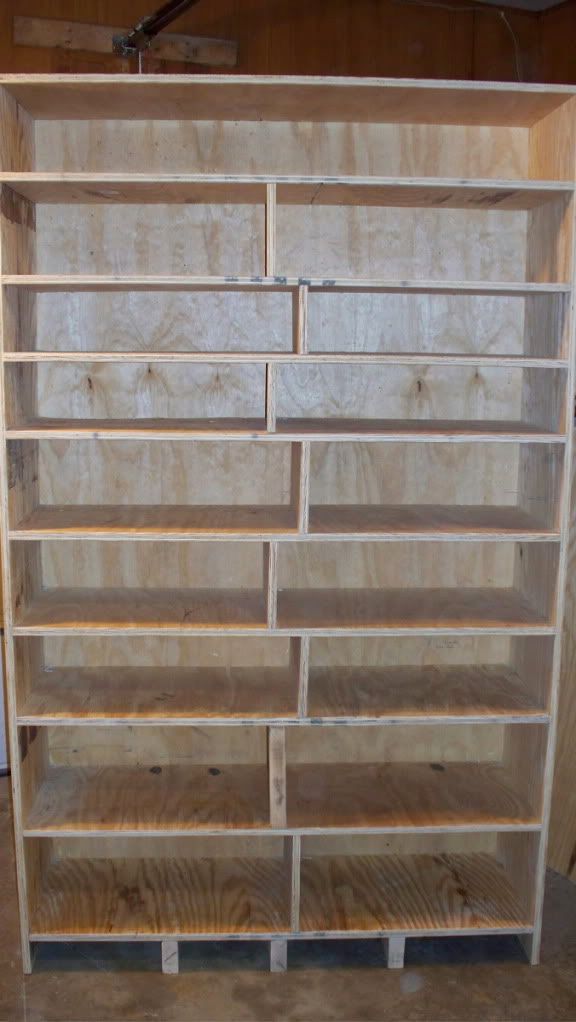

I had a hard time finding places to put canned goods because of their weight and bulk, so I built this handy cabinet. It can hold more weight than I ever imagined and actually ended up looking decent for the price. The shelf depth seems to be perfect for almost every sized jar.
![Image]()
Why is this cabinet different?
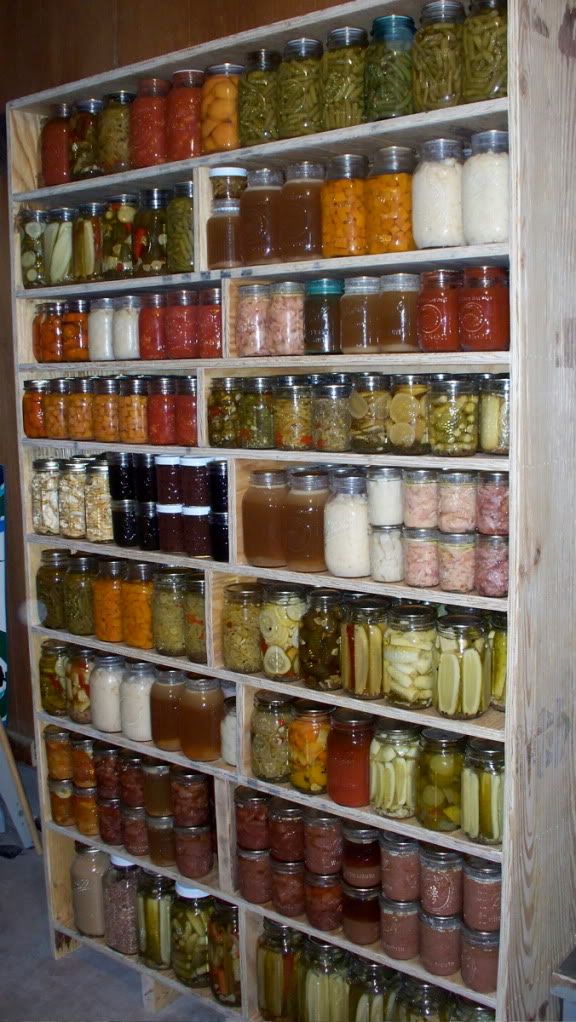
- It really maximizes your space, able to hold nearly 500 quart jars in a very small area
- There's Little to no wasted material
- It can hold over 100 gallons of food by volume and probably a ton or more by weight
- The price is fairly low for it's holding capacity (under $70)
- It's quick and easy to build with very minimal measuring
- You can customize it to any size or shaped items
- It can be easily taken down and moved if you want or need to
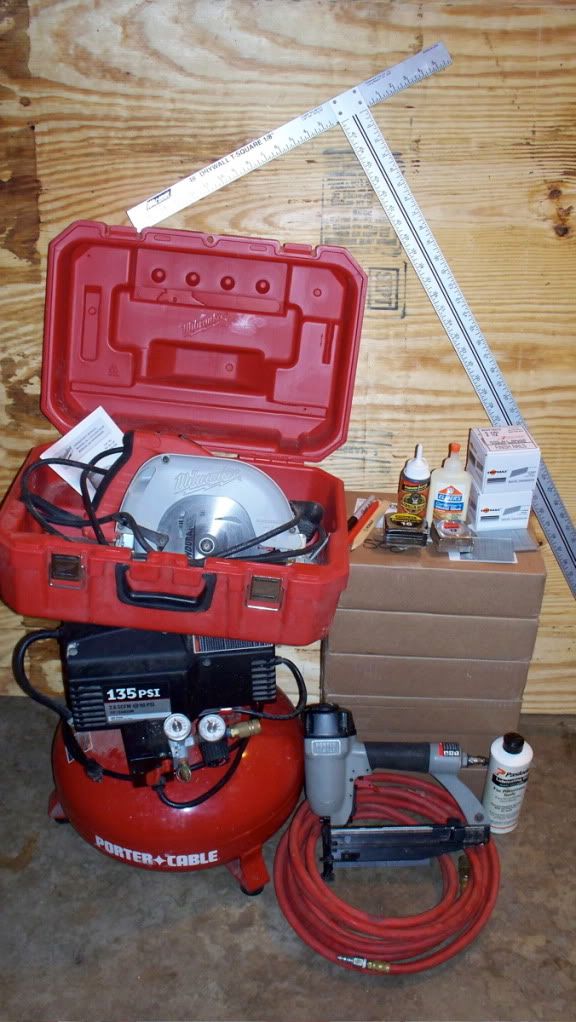
Material List:
- 3/4 inch CDX or better plywood (3 sheets in this case, $60)
- Circular Saw
- Tape Measure
- Marking Pencil
- Air Nailer and 2 1/2 inch nails (I like finishing nails)
- Compressor
- Quality wood glue
- T-square or nice long straight edge
- Same sized boxes to hold the plywood off the ground for cutting
- Safety goggles and hearing protection are highly recommended
![Image]()
Basic Board Lengths:
Back = 80 x 48 inches (one piece)
Top Piece = 48 x 16 inches (one piece)
Sides = 80+3/4 x 16 inches (2 of these)
Shelves = 48 x 15+1/4 inches (this varies, 9 in this example)
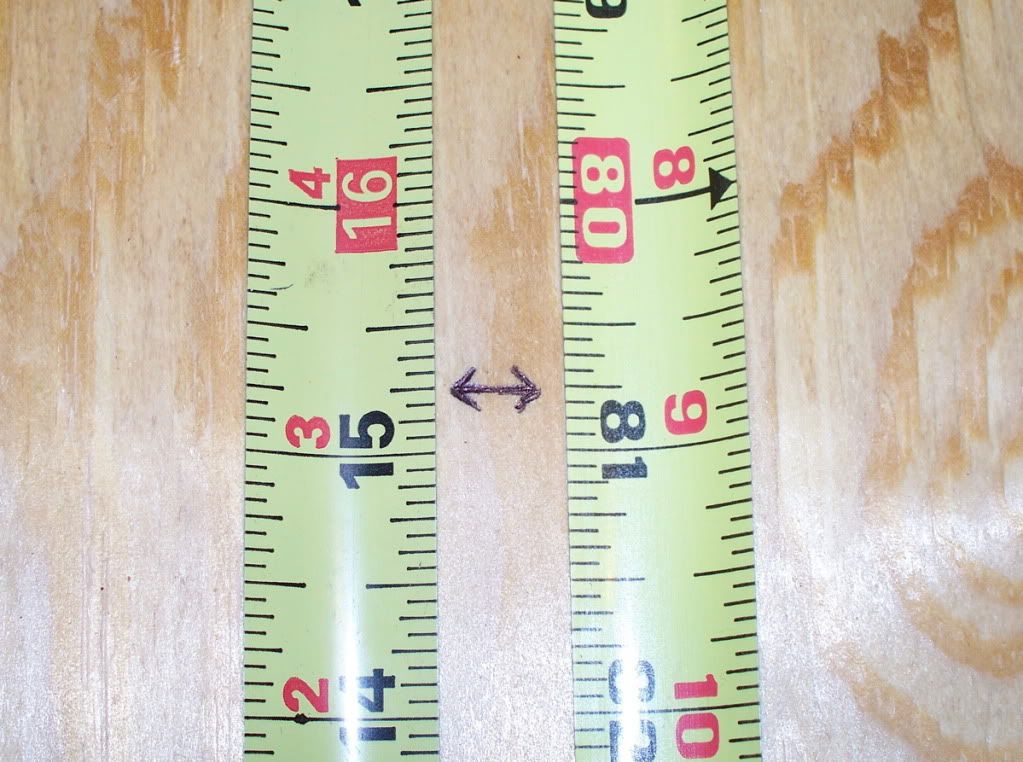
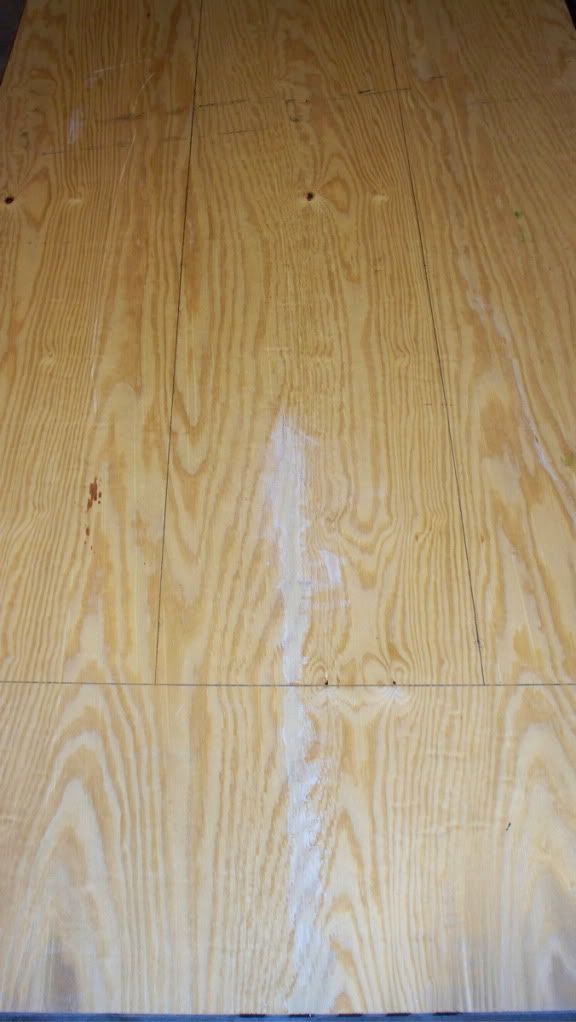
The big bonus to this shelf design is how few cuts you have to make and how little overall waste there is. As far as how you put the whole cabinet together doesn't really matter as long as you follow these measurements and basic design. As you can see, when you make this pictured measurement, one piece of the plywood will measure 80+3/4 x 48 inches and the other piece will measure 15+1/4 x 48 inches. This is how you get away with making so few cuts and saving material, you are making two pieces with one cut.
![Image]()
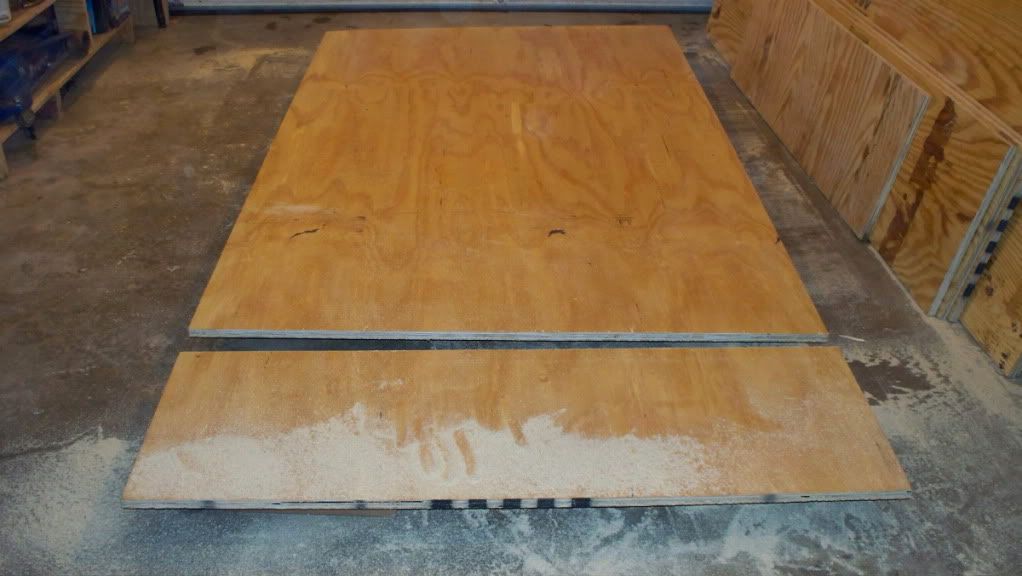
So your first cut is going to be 16 inches which makes one 16x48 inch piece and one 80x48 inch piece, the back and top are made with one single cut. Measure down 16 inches on each side and use the straight edge to draw a nice clean line. That's the end of your first sheet of plywood. This picture also shows why I like to use same sized boxes or something similar to hold the plywood off the ground. If you cut it with a large overhang, it will fall and really mess up the end of the cut.
![Image]()
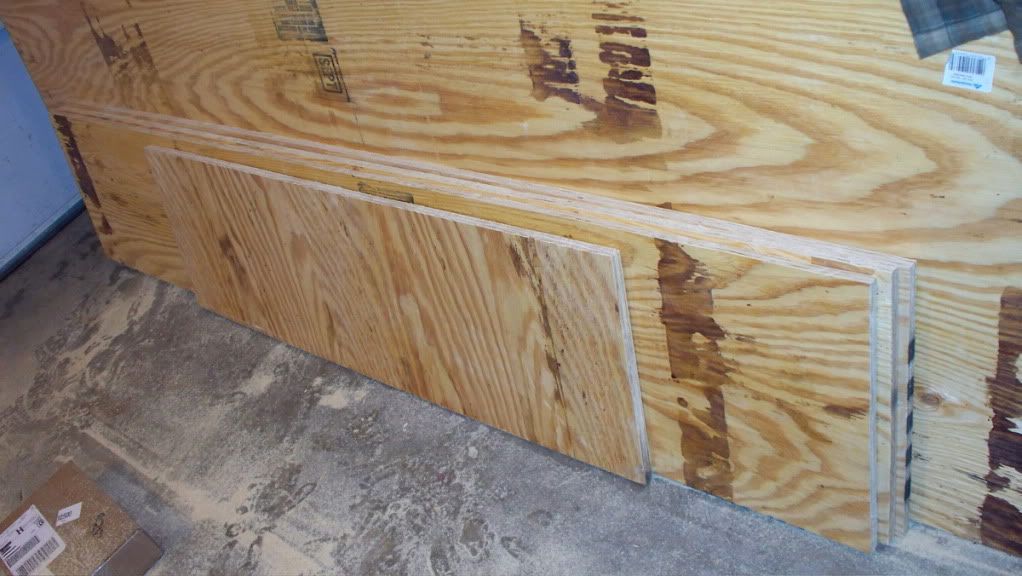
Your next sheet of plywood will be used to make two shelves and two full length sides with only 5 cuts. This time, measure down exactly 15+1/4 inches and be careful when you make the cut. The plywood should look very similar to the above picture after this first cut, but you still have 3 cuts to make with this piece. When you have your first 15+1/4 inch shelf, set it aside and start on your 80+3/4 x 48 piece that you just made. What you are basically doing is splitting the 48 inch width piece into 3 equal lengths of 16 each. Measure in 16 inches lengthwise this time. You'll want to use the outside 16 x 80+3/4 inch pieces here and save the middle piece for a single shelf and a small piece of support scrap. The middle piece will have to be trimmed down to 15+1/4 inches to make a shelf out of it. If you can make out the pencil lines, here's what your plywood should be sectioned up like.
![Image]()
Here's what your second sheet of plywood looks like after 3 cuts but before the middle 16x80+3/4 inch piece is trimmed for a shelf.
![Image]()
The only other cuts you make now are 15+1/4 inch shelves. You can get 6 shelves out of one piece of plywood which means you could make an 8 shelf cabinet with only 3 pieces of plywood if you have some scrap laying around for supports. One thing you could do that would save a bunch of time is have the hardware store cut your plywood for you. Just MAKE SURE they get the cuts right or it will throw off the entire cabinet.
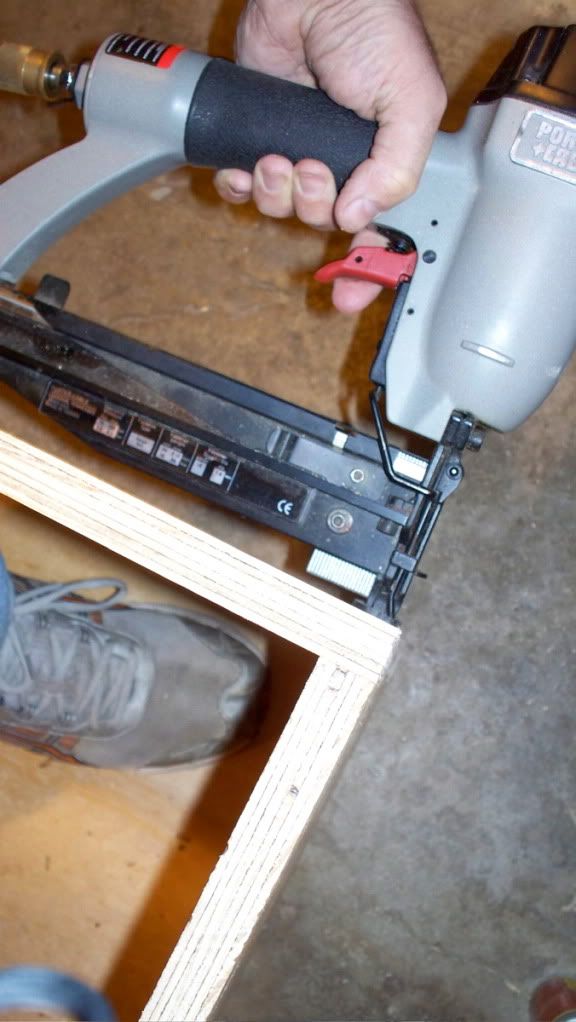
I like to start by gluing and tacking the top, then sides, and then the bottom on. I use 2+1/2 inch finishing nails and sink them just under the surface. I usually put them from 1-2 inches apart all the way around the cabinet where it meets the shelf. I let it sit overnight before starting the main shelves. Like I said, there are probably a bunch of ways to put this together once you have the pieces cut out.
![Image]()
It really helps to stand on the inside to help stabilize and flatten the back as you nail on the pieces. You can really line the edges up nice like this.
![Image]()
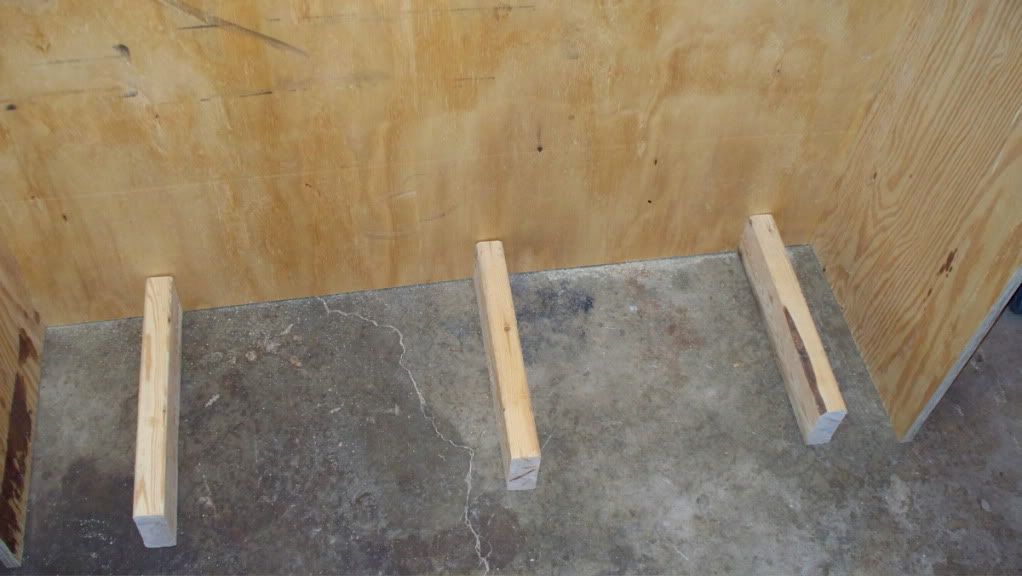
When I have the top and sides on, I like to stand it up to put on the bottom shelf. I just cut a 2x4 down and use it as a guide for the bottom, then tack the 2x4 pieces onto the bottom after the shelf is secure.
![Image]()
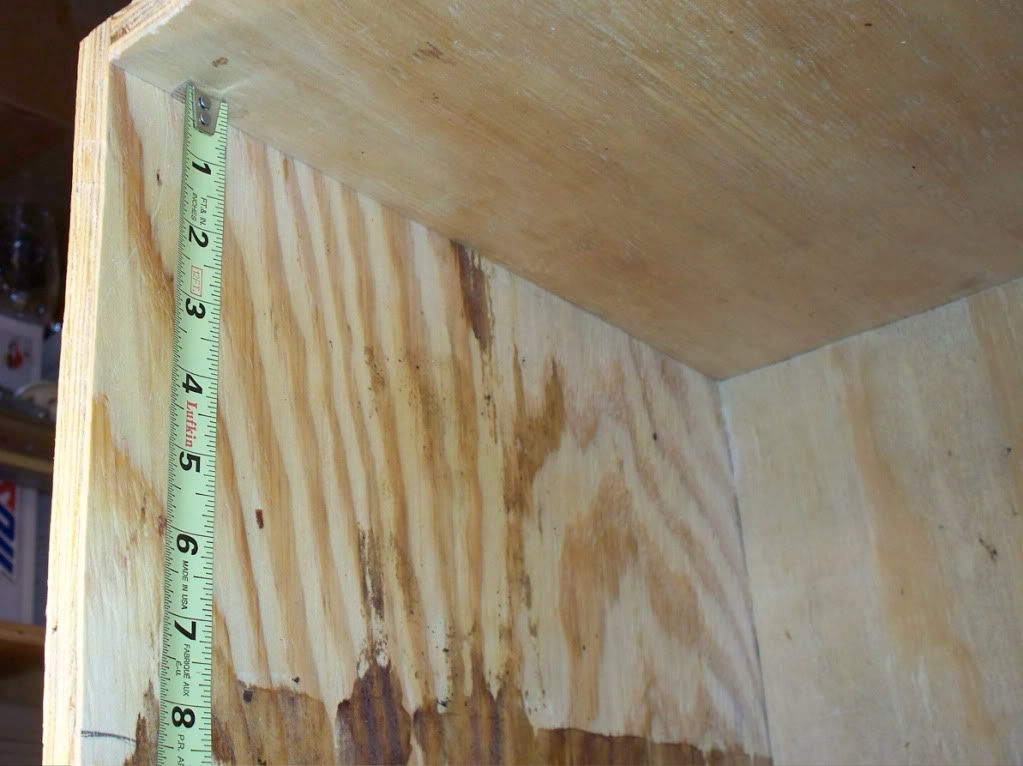
Since I'm working form the bottom up, it makes things really straight to measure from the top down.
![Image]()
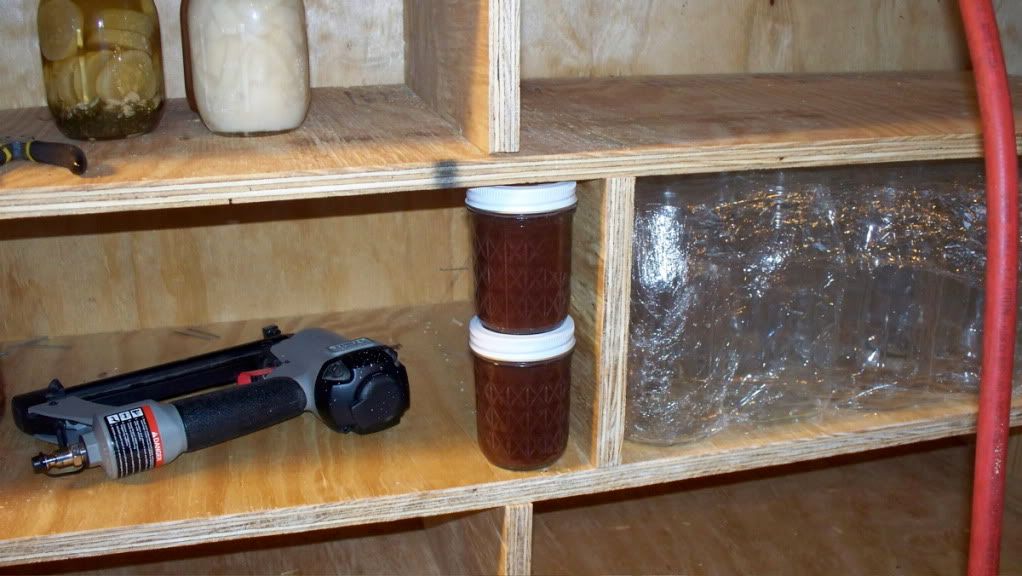
I use things that I know are going to be sitting on the shelves as measuring guides and just build my way up. Put them close so you get the most out of your cabinet. You need some sort of supports in between the shelves, as close to the middle as possible. This really makes the cabinet strong since I mostly used 3/4 inch plywood from front to back. They are staggered so I can nail them in from top and bottom.
![Image]()
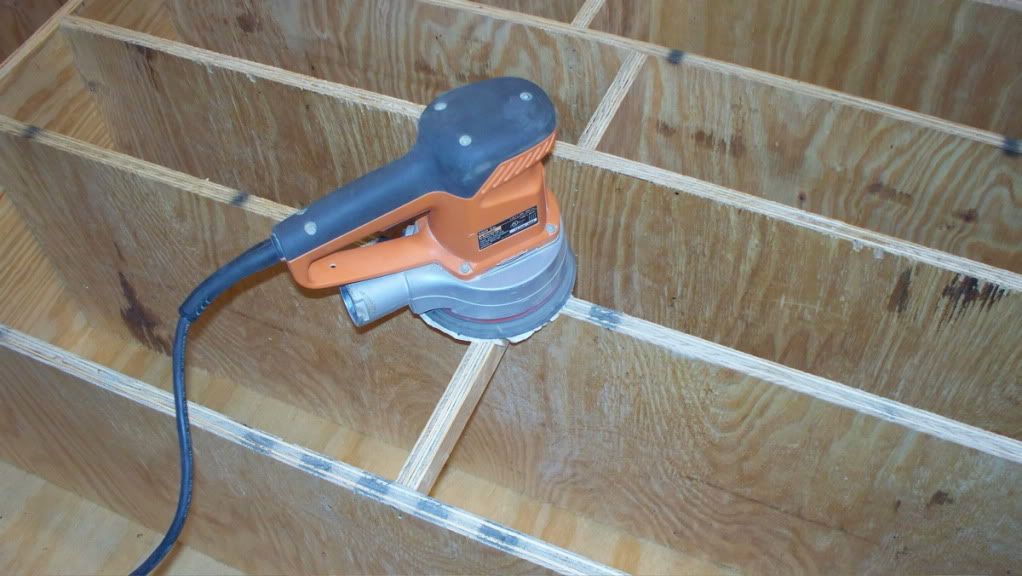
When the cabinet is basically done, I like to sand down the splinters and sharp corners. CDX plywood is very rough, but oak and birch plywood hurts the wallet
![Image]()
Here it is, plain but very functional! I screwed it tight to the wall and used shims under it to make the cabinet as solid as the wall itself. I just don't want to risk all that weight moving or shifting when I get it full of glass and hard fought food. All told, it takes me 4-5 hours and less than $70 to build a cabinet like this. Next step might be doors or even some trim to make it look a little better.
![Image]()
Why is this cabinet different?
- It really maximizes your space, able to hold nearly 500 quart jars in a very small area
- There's Little to no wasted material
- It can hold over 100 gallons of food by volume and probably a ton or more by weight
- The price is fairly low for it's holding capacity (under $70)
- It's quick and easy to build with very minimal measuring
- You can customize it to any size or shaped items
- It can be easily taken down and moved if you want or need to
Material List:
- 3/4 inch CDX or better plywood (3 sheets in this case, $60)
- Circular Saw
- Tape Measure
- Marking Pencil
- Air Nailer and 2 1/2 inch nails (I like finishing nails)
- Compressor
- Quality wood glue
- T-square or nice long straight edge
- Same sized boxes to hold the plywood off the ground for cutting
- Safety goggles and hearing protection are highly recommended
Basic Board Lengths:
Back = 80 x 48 inches (one piece)
Top Piece = 48 x 16 inches (one piece)
Sides = 80+3/4 x 16 inches (2 of these)
Shelves = 48 x 15+1/4 inches (this varies, 9 in this example)
The big bonus to this shelf design is how few cuts you have to make and how little overall waste there is. As far as how you put the whole cabinet together doesn't really matter as long as you follow these measurements and basic design. As you can see, when you make this pictured measurement, one piece of the plywood will measure 80+3/4 x 48 inches and the other piece will measure 15+1/4 x 48 inches. This is how you get away with making so few cuts and saving material, you are making two pieces with one cut.
So your first cut is going to be 16 inches which makes one 16x48 inch piece and one 80x48 inch piece, the back and top are made with one single cut. Measure down 16 inches on each side and use the straight edge to draw a nice clean line. That's the end of your first sheet of plywood. This picture also shows why I like to use same sized boxes or something similar to hold the plywood off the ground. If you cut it with a large overhang, it will fall and really mess up the end of the cut.
Your next sheet of plywood will be used to make two shelves and two full length sides with only 5 cuts. This time, measure down exactly 15+1/4 inches and be careful when you make the cut. The plywood should look very similar to the above picture after this first cut, but you still have 3 cuts to make with this piece. When you have your first 15+1/4 inch shelf, set it aside and start on your 80+3/4 x 48 piece that you just made. What you are basically doing is splitting the 48 inch width piece into 3 equal lengths of 16 each. Measure in 16 inches lengthwise this time. You'll want to use the outside 16 x 80+3/4 inch pieces here and save the middle piece for a single shelf and a small piece of support scrap. The middle piece will have to be trimmed down to 15+1/4 inches to make a shelf out of it. If you can make out the pencil lines, here's what your plywood should be sectioned up like.
Here's what your second sheet of plywood looks like after 3 cuts but before the middle 16x80+3/4 inch piece is trimmed for a shelf.
The only other cuts you make now are 15+1/4 inch shelves. You can get 6 shelves out of one piece of plywood which means you could make an 8 shelf cabinet with only 3 pieces of plywood if you have some scrap laying around for supports. One thing you could do that would save a bunch of time is have the hardware store cut your plywood for you. Just MAKE SURE they get the cuts right or it will throw off the entire cabinet.
I like to start by gluing and tacking the top, then sides, and then the bottom on. I use 2+1/2 inch finishing nails and sink them just under the surface. I usually put them from 1-2 inches apart all the way around the cabinet where it meets the shelf. I let it sit overnight before starting the main shelves. Like I said, there are probably a bunch of ways to put this together once you have the pieces cut out.
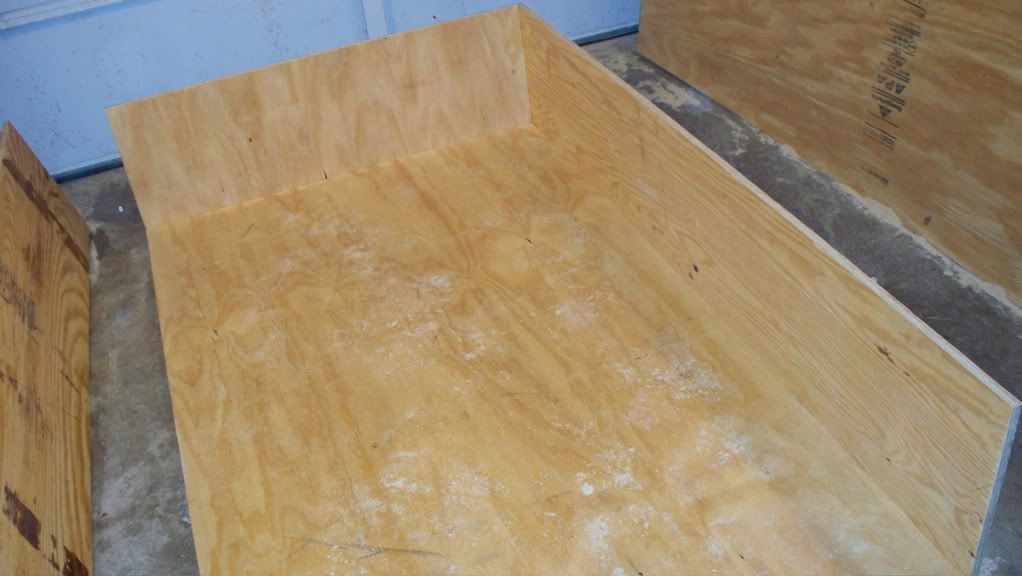
It really helps to stand on the inside to help stabilize and flatten the back as you nail on the pieces. You can really line the edges up nice like this.
When I have the top and sides on, I like to stand it up to put on the bottom shelf. I just cut a 2x4 down and use it as a guide for the bottom, then tack the 2x4 pieces onto the bottom after the shelf is secure.
Since I'm working form the bottom up, it makes things really straight to measure from the top down.
I use things that I know are going to be sitting on the shelves as measuring guides and just build my way up. Put them close so you get the most out of your cabinet. You need some sort of supports in between the shelves, as close to the middle as possible. This really makes the cabinet strong since I mostly used 3/4 inch plywood from front to back. They are staggered so I can nail them in from top and bottom.
When the cabinet is basically done, I like to sand down the splinters and sharp corners. CDX plywood is very rough, but oak and birch plywood hurts the wallet
Here it is, plain but very functional! I screwed it tight to the wall and used shims under it to make the cabinet as solid as the wall itself. I just don't want to risk all that weight moving or shifting when I get it full of glass and hard fought food. All told, it takes me 4-5 hours and less than $70 to build a cabinet like this. Next step might be doors or even some trim to make it look a little better.